 Caring for Your 3D Printer
One of the benefits of ‘bottom-up-and-peel’ style 3D printers is that they tend to have fewer mechanical parts that require attention. However, all 3D printers requires proper care and maintenance to continue humming along well and turning out accurate prints. When you purchase and unbox your new printer you’ll receive some additional instructions from the manufacturer about upkeep, but here are some good rules to follow when caring for key components in these types of machines.
Maintaining Resin Tanks
Bottom-up printers require a peel step between each layer to release the freshly cured layer from the build window at the bottom of the resin tank (typically made out of silicone) so over time the material on the build window will being to ‘cloud’ significantly and require replacement. How long the resin tank lasts is a factor of the build window material, the properties of the resin, and the number of peel steps that occur over a particular region on the build window. The build windows in the Form2 resin tanks are rated for 5000 peel steps with their V3 resin, so the rough math is one resin tank per resin cartridge (you want to keep them paired off) to maintain high quality prints.
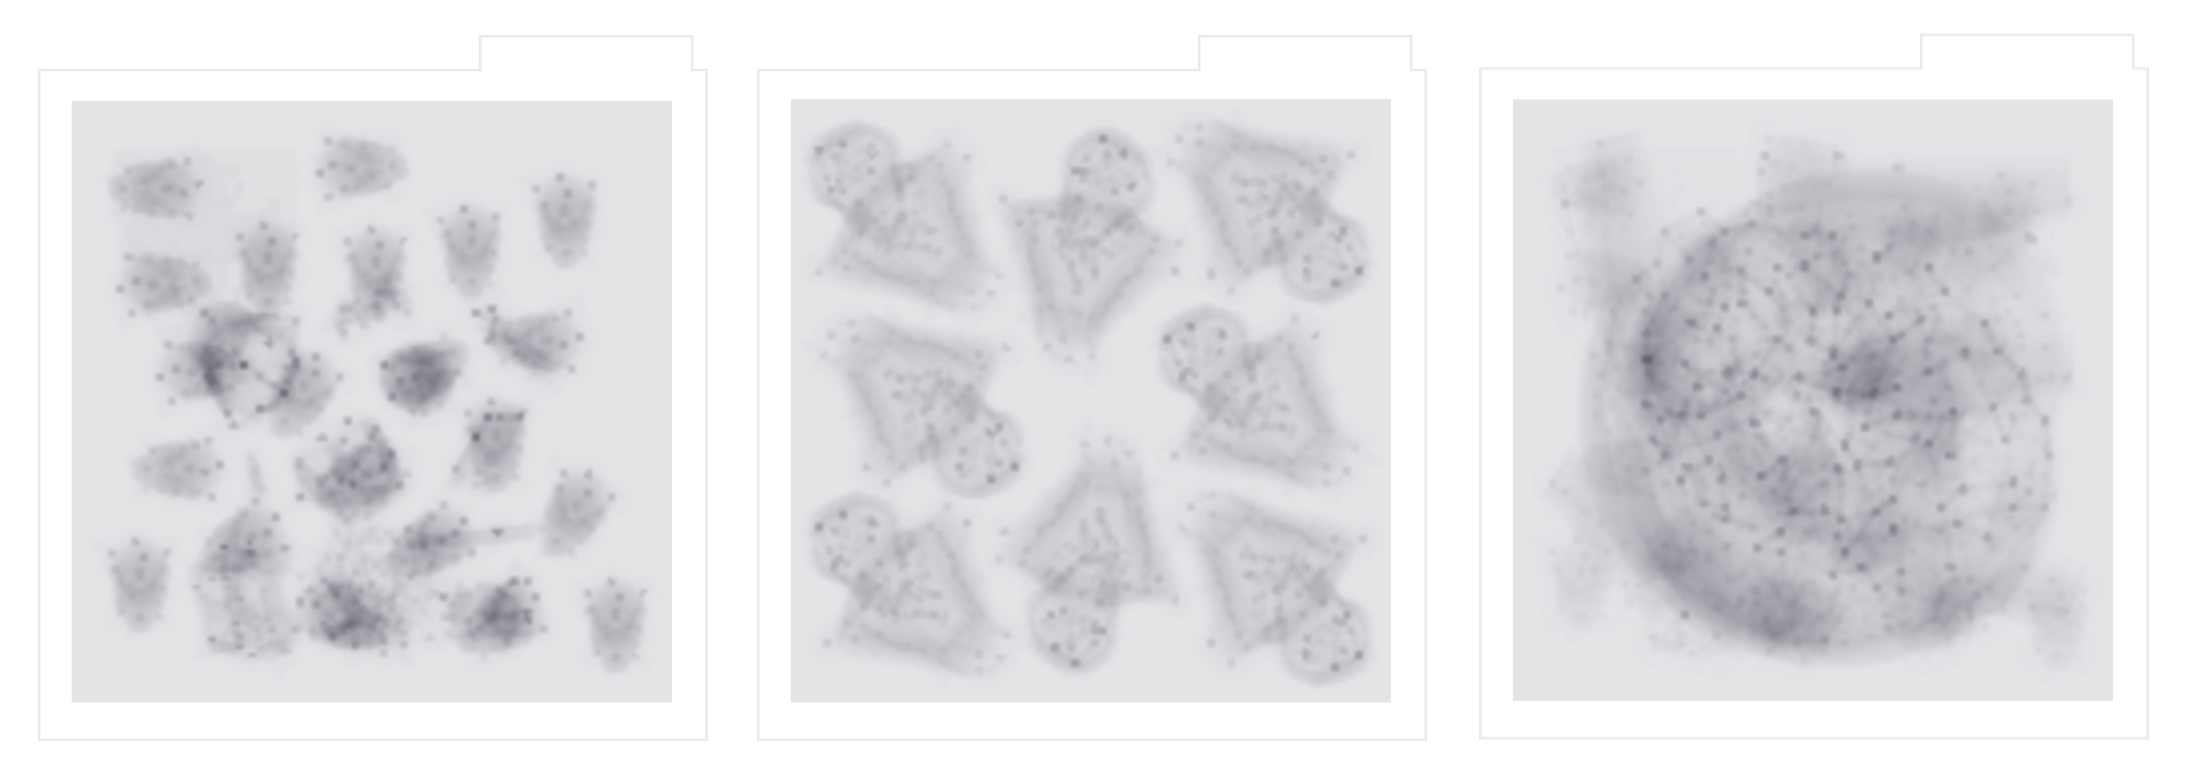
 You can extend the lifetime of your resin tank by printing with the largest acceptable layer thickness (Z Res) without compromising accuracy (100microns for orthodontic models), and by varying position of your prints on the build platform to more evenly utilize the build window. The Form2 dashboard can help you watch for even utilization by showing you a heat map of your prints on that particular resin tank as you can see below. Once they integrate this data into the PreForm software it will be even more useful.
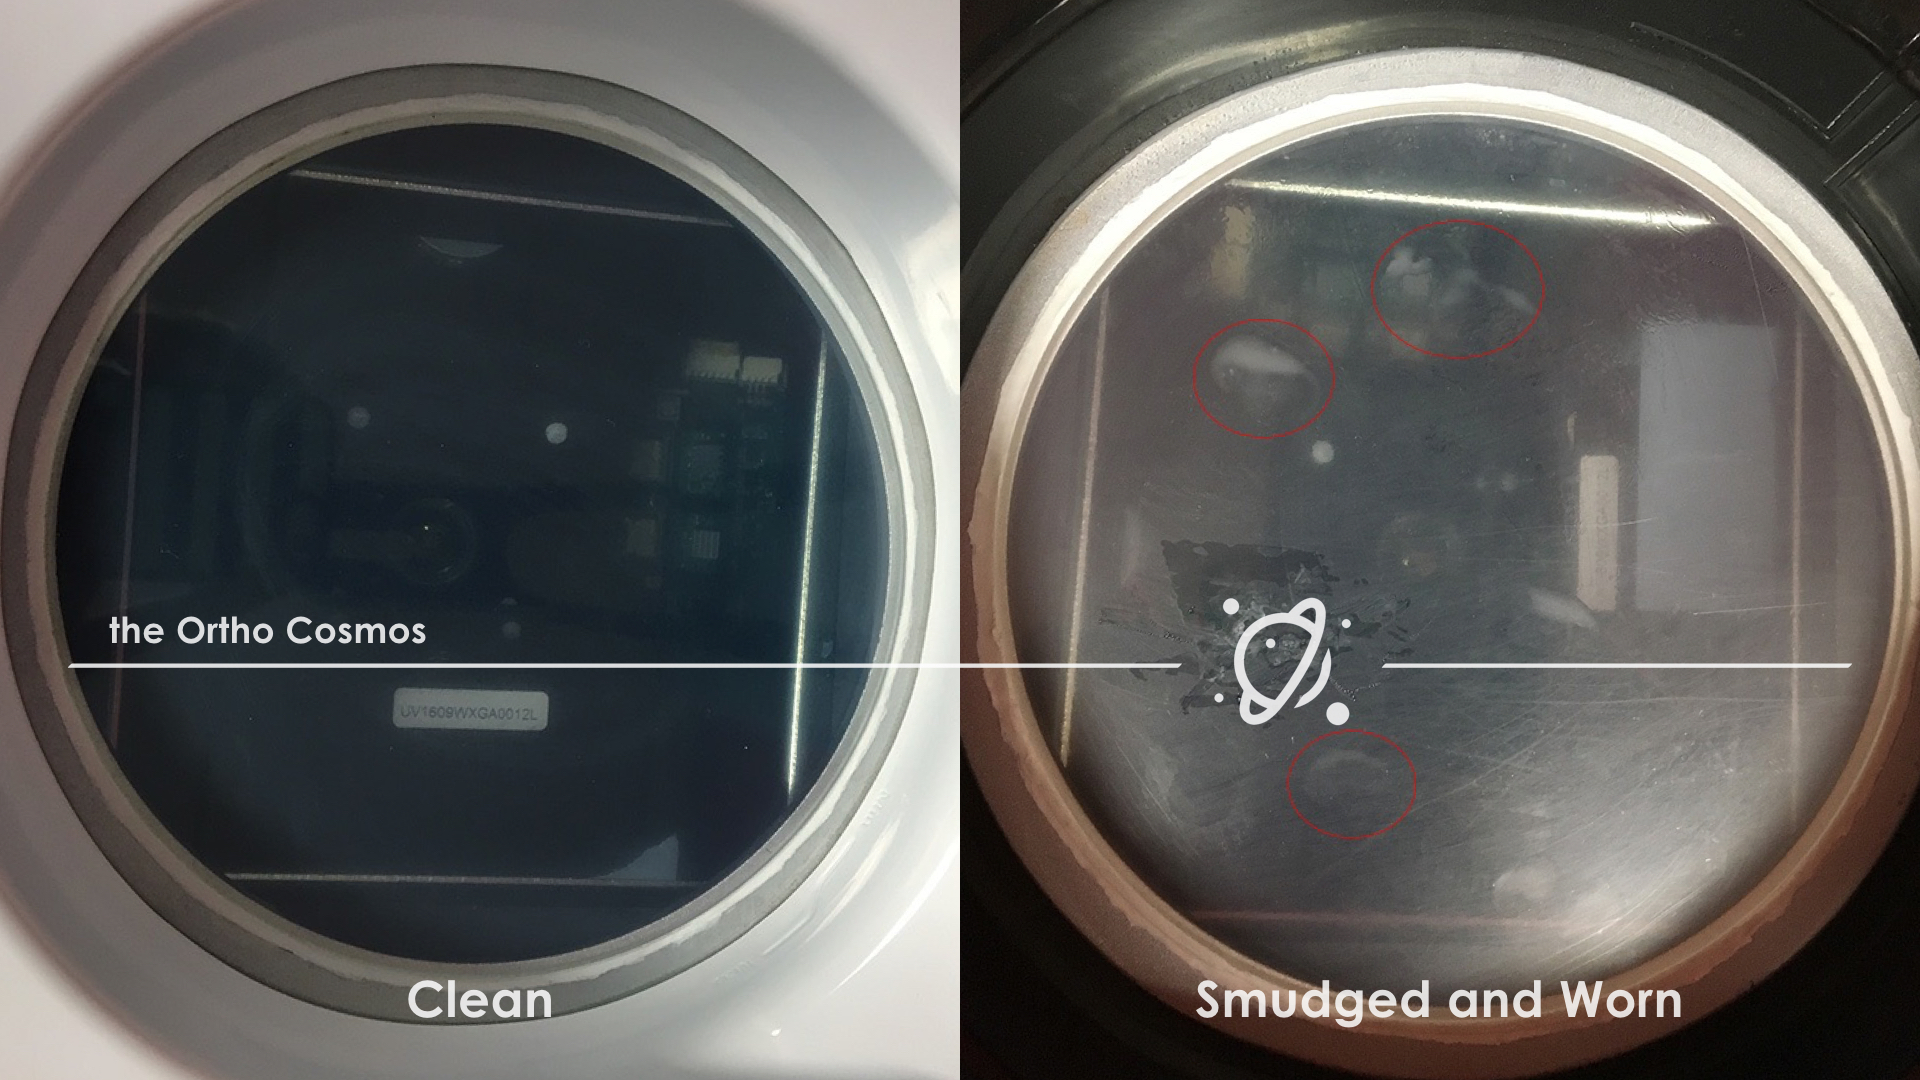
 It goes without saying that you should handle the resin tanks while wearing gloves and avoid touching the curing window. Fingerprints, dirt, or any smudges that could interfere with the light transmission through the curing window will negatively impact your prints. If you were to accidentally smudge the underside of the curing window, you must clean it using Novus 1 acrylic cleaner on a paper towel or microfiber cloth.
Isopropyl alcohol should not be used on any of the acrylic surfaces because it can cause cracking, and no chemical cleaners should ever be used on the inside of the resin tank since it could impact print resins. The resin tanks are more of a disposable item so cleaning the inside is largely unnecessary. If bits of cured resin were to find their way into the resin tank due to a failed print, you should filter them out by pouring the resin through a 190 micron paint filter.
Mirrors and/or Projector Lens
High quality optics are important for accurate and successful 3D printing, so you will need to avoid introducing dust or dirt into the machines and be careful not to smudge optical surfaces with residual resin or oils from your hands. The optics deck on many newer 3D printers are sealed to help avoid dust getting in, but either way you should keep the lid closed on your printer as much as possible to keep dust from getting in.
While changing resin tanks or in the even of a failed print, the mirrors and/or projector lens should be inspected to make sure they are in fact clean. If they were to become dirty, a damp microfiber cloth or compressed air dusters can be used to clean their surface.
Build Platform
Build platforms are extremely resilient and rarely need to be replaced during the lifetime of your printer. As long as there aren’t sharp bits sticking out from part removal/resurfacing that may puncture the silicone curing window in the tank, there is no need to replace the build platform, but they should be cleaned throughly with a cloth between prints. Chemical cleaners should not be used on the build platform to avoid introducing them into the resin during printing.
General Upkeep
Although this would be rare in an orthodontic lab, if the resin sits for longer periods of time it may need to be gently mixed to avoid settling of particles with some types of resins. In the Form2, you can simply remove the wiper and gently sweep it left and a right to make sure the resin is mixed. It is a good idea not to mix it while in the machine in case of a spill so you should remove the resin tank prior to mixing. Outside the machine, you should keep the resin covered as much as possible.
Although isopropyl alcohol is used to wash printed parts and remove residual resin and is readily available, it should not be used to clean any of the acrylic parts on the machine like the hood or resin tanks. The isopropyl alcohol will crack the acrylic over time. Instead these acrylic surfaces should be wiped down with an acrylic cleaner like Novus 1 on a paper towel or microfiber cloth.
Leave a Reply